

cake: buttermilk & olive oil funfetti chiffon
cake: buttermilk & olive oil funfetti chiffon
a cake for the anniversary of the day you started living.

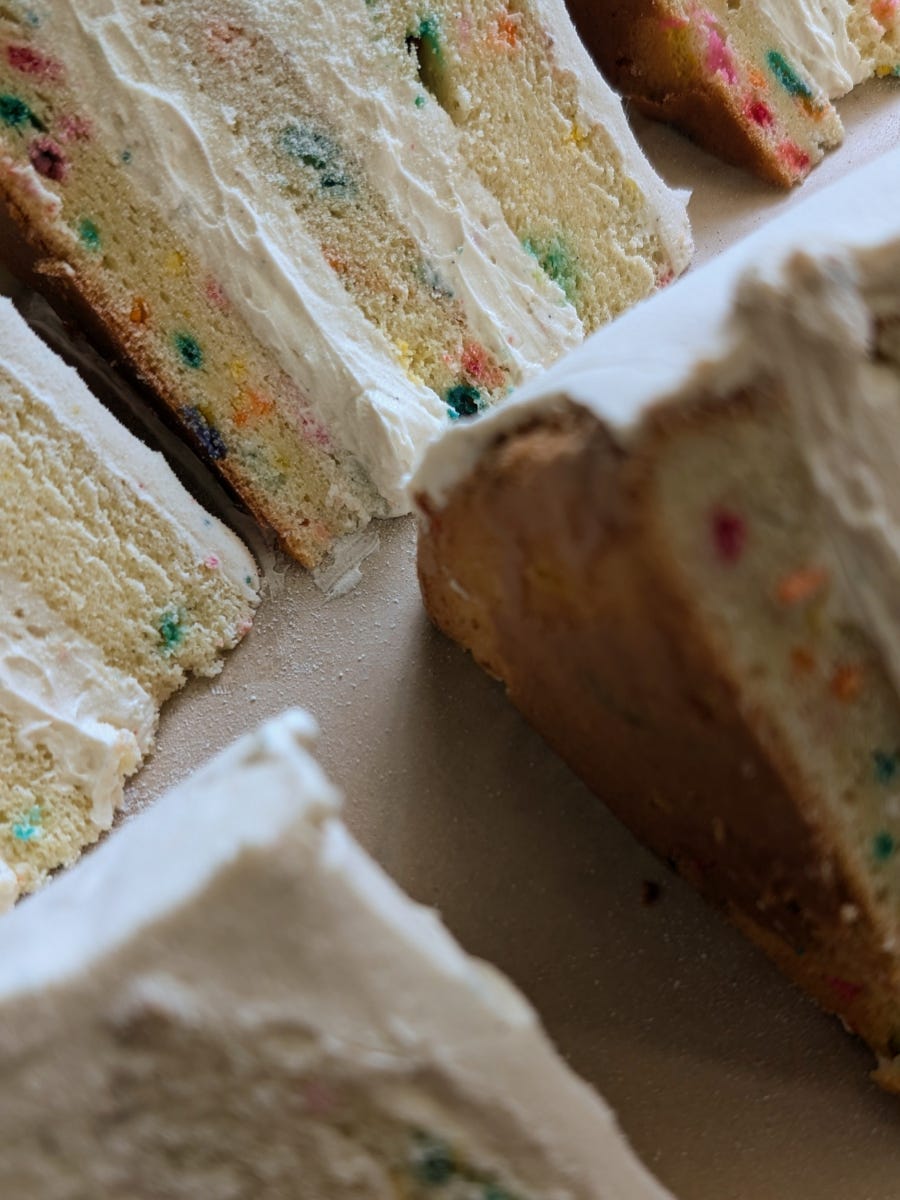
Another addition to my mini cake series, and something for the birthday fanatics is this buttermilk and olive oil funfetti cake.
We are working with delicate egg white meringues for both the base of the chiffon cake and an olive oil swiss meringue buttercream. If you do not have experience making chiffon cakes or meringue-based buttercreams, I hope you find yourself excited to start here.
Buttermilk tenderizes the chiffon crumb, and it stays soft for days after baking. For the olive oil, I like to use a finishing oil (preferably one with strong and robust fruit and pepper notes) to compliment the bright flavor of the cake, however the choice of notes for your olive oil is completely up to you.
Treat this cake as a sort of canvas - something you can easily pair with your choice of fruit fillings or jam, custards or pastry creams, or textural elements such as Milk Bar cake crumbles, Golden Oreos, etc. You can dress it all the way up.
My best advice: swiss meringue buttercream
Temperature matters. Kitchen temperature, butter temperature, etc. The wrong combination of temperatures can cause a meltdown, whether it be you or your buttercream that suffers.
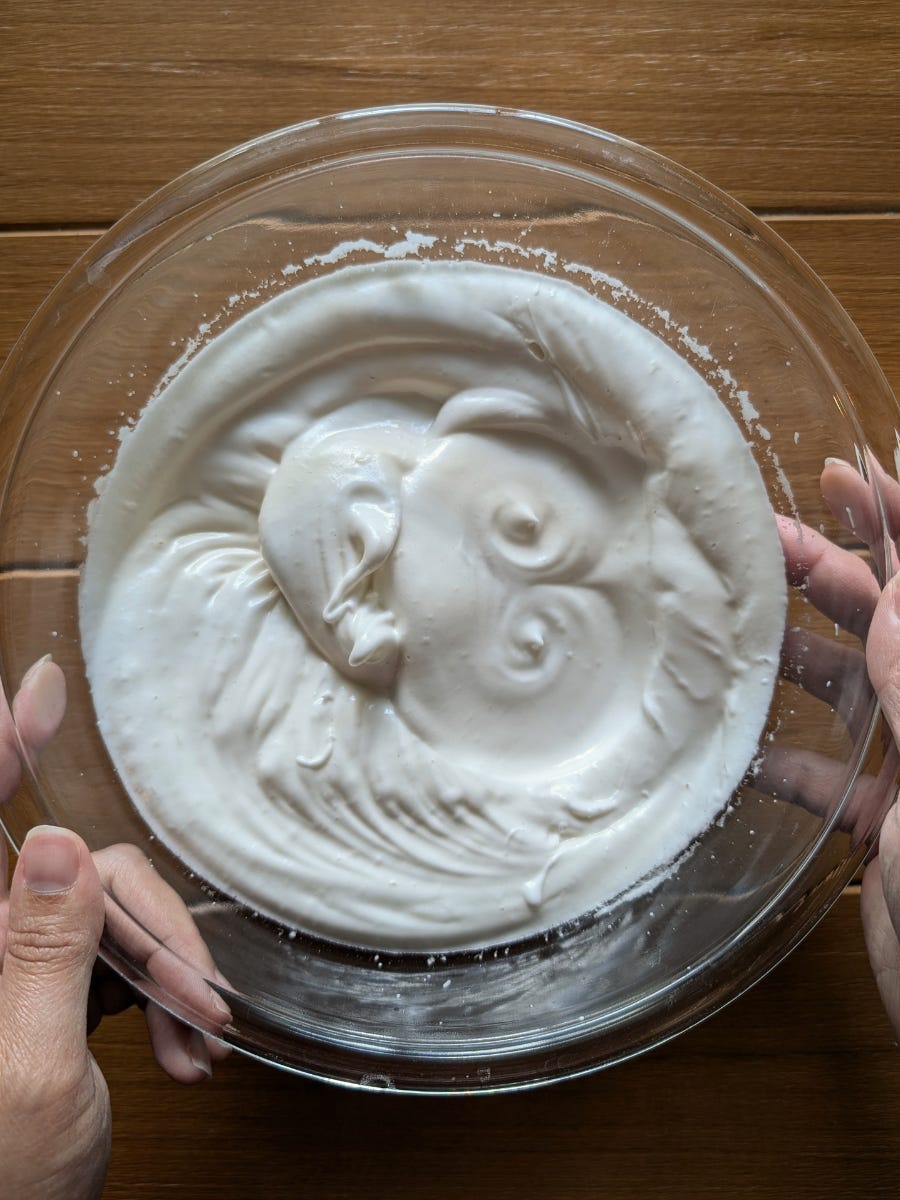
Temperature comes into play from the very beginning of the swiss meringue process. The egg whites and sugar are heated gently together until the sugar has completely dissolved into the egg whites, creating this homogenous gloop (for lack of a better term).
Not hot enough and you risk a grainy buttercream. Too hot, and the egg white mixture will begin to de-emulsify or overcook, and won’t come together at all when you whip it (I’ve experienced both scenarios).
How to manipulate temperature
If you’re in a hot place like I am (Texas, can I get a hawyee?) then you may be at risk for experiencing the meringue soup, which can occur when the meringue struggles to cool down after being whipped for what feels like an eternity. After you add butter to it, it melts and becomes this soupy consistency. Agony!
So, here are some tips and extra measures I take based on what I know now to ensure the process goes smoothly.
If you are working in a warm to hot kitchen, I suggest placing the whipped meringue into the fridge for 5-10 minutes (depending on how hot it is) before adding the butter. You can also refrigerate the meringue before you even begin to whip it, 7-10 minutes.
Do not allow the meringue to become cold! Our goal is room temperature, so please keep and eye on the amount of refrigeration time.
You will know the meringue is the correct temperature when you touch the sides of the stand mixer bowl, and it feels tepid (lukewarm) to touch.
This will ensure the meringue is cool enough before adding the butter. We need the meringue to be the same temperature as the butter, thus the room temperature requirement.
A note about ratios
My recipe has a slightly higher sugar ratio compared to other recipes you may have used. There are two major (and mostly personal) reasons for this - one being that the sugar helps to strengthen and stabilize the egg whites, so if you’re living in a hot place like I am, you should hopefully struggle less with a weepy meringue. The other reason is I like a slightly sweeter and less “buttery” tasting buttercream. Sometimes I find the butter flavor can be just a tad overpowering. The addition of brown sugar in my recipe helps to counter that, adding slight notes of caramel. It’s just a personal preference that I think works really well.
The sweetness of this swiss meringue buttercream won’t even come close to the sweetness of a classic American buttercream, so please don’t let that turn you off.
Something to know about me is I am not an American buttercream hater. Like…at all. I love the way it forms a crust, I love the texture when it’s cold. It’s so nostalgic for me, and I think it tastes best when purchased at a grocery store bakery. I don’t want luxurious American buttercream, I want the sugar shit that might be made with pure shortening, who cares to know?
I just felt the need to clarify that I am not a frosting hater, I truly am just a sugar gremlin.
To venture one extra step further down memory lane, this cake calls for what’s known as clear vanilla extract. If you don’t know what that is, allow me to enlighten you. It is nostalgia gold.
It’s an ultra light, sweet, mystery vanilla flavor that is used in all sorts of foods you’ve had before. Think boxed funfetti cake, lofthouse cookies, vanilla wafers, Twinkies! It’s hella fake, hella fun. If Barbie were a cake flavor, this would be it.
Most grocery stores will carry their own brand of this extract as well, so it’s pretty easy to locate.
CAKE: BUTTERMILK FUNFETTI CHIFFON
Makes: 1 8” or 9” cake | Cook Time: 1 hour and 20 mins | Serves: 8-12 generous slices
funfetti chiffon:
wet ingredients (1)
120 ml buttermilk
6 egg yolks, large
45 grams light brown sugar
13 grams clear vanilla extract 1 tablespoon
80 ml olive oil
8 grams kosher salt
wet ingredients (2)
6 large egg whites
90 grams cane sugar
dry ingredients (3)
145 grams cake flour
½ teaspoon baking powder
45 grams rainbow jimmies
olive oil swiss meringue buttercream:
375 grams cane sugar
100 grams light brown sugar
240 grams egg whites
pinch of kosher salt
452 grams salted butter room temperature
10 grams clear vanilla extract
15-30 ml olive oil preferably a finishing oil
1 tablespoon rainbow jimmies lightly crushed
Some Tools You’ll Need:
1 8” or 9” aluminum cake pan with tall sides
1 electric hand mixer
1 offset spatula
medium to large bowls (at least 3)
1 stand mixer with whisk a attachment
kitchen thermometer optional
This recipe makes a 3 layer 8-inch cake, or a 2 layer 9-inch cake.
Make the funfetti chiffon
Preheat the oven to 335 F.
Line the bottom of an 8” tall sided aluminum cake pan, or a 9” aluminum cake pan with parchment. Do not grease the pan.
In a medium bowl, combine 120 ml buttermilk, 6 large egg yolks, 45 grams light brown sugar, 13 grams (or 1 tablespoon) clear vanilla extract, 80 ml olive oil and 8 grams kosher salt. Whisk together well and set aside.
In a separate smaller bowl, whisk together 140 grams cake flour and ½ teaspoon baking powder and set aside. Set aside 45 grams rainbow jimmies as well, separate from the flour.
To a large and clean bowl (or stand mixer bowl), add 6 large egg whites.
Using an electric hand mixer (or whisk attachment), beat the egg whites on low speed to start. The egg whites will begin to foam and loosen. When this occurs, increase to medium low speed, and gradually begin adding in the 90 grams of cane sugar.
Gradually increase the speed to medium high while continuing to add the cane sugar until it is all incorporated, and then beat the egg whites just until stiff peaks have formed. Set the meringue aside.
Add the flour and baking powder in with the egg yolk mixture. Whisk together until no traces of flour remain. This is our egg yolk batter.
Next, add 1/3 of the meringue into the yolk batter. Use a whisk or rubber spatula to gently fold the egg whites in, scraping the sides and bottom of the bowl. The purpose of this step is to lighten the batter so that it will incorporate into the meringue with ease.
Pour the lightened yolk batter directly into the bowl with the remaining egg white meringue, and fold together gently using a rubber spatula or whisk. Similar to the step above, scrape the sides and bottom of the bowl.
Continue to fold gently until no streaks remain, and the batter is an even pale yellow. During the last few folds, add in 45 grams rainbow jimmies.

Pour the batter into your prepared cake pan.
Tap the pan on the counter to relieve any air bubbles. Sprinkle the top with more jimmies if desired.
Bake for 45-50 minutes, depending on your oven. The cake is ready when it is a golden brown color and springs back from the center when pressed gently, and an inserted cake tester or toothpick comes out clean. The cake may dome, however it should settle after removing from the oven.
Allow the cake to cool completely in the pan, inverted on a wire rack.
Swiss Meringue Buttercream Preparation
Set out 452 grams salted butter about 35 minutes prior to preparing. The butter should be room temperature, but not soft and not greasy. Still slightly firm to the touch.
Fill a medium saucepan with about 2-3 inches of water, and set over medium high heat to simmer.
In a stand mixer bowl, or a large heatproof glass bowl, combine 375 grams cane sugar and 100 grams light brown sugar with 240 grams egg whites and a large pinch of kosher salt. Use a whisk to combine well.
Place the bowl over the simmering pot, and whisk the contents continuously until it reaches 165-170 F. If you don’t have a thermometer, cautiously dip your finger into the egg whites and rub it between your fingers. It’s ready when it’s completely smooth and you feel no granules of sugar.
Attach the bowl to a stand mixer. Using the whisk attachment, whip the egg white mixture on medium high to high speed until stiff peaks have formed, and the sides of the bowl are no longer warm to the touch. If you live in a warmer state like I do, try sticking the bowl into the fridge for 5-7 minutes if you find it’s taking a long time for your egg whites to cool down. Another tip: place a bag of frozen peas or veg under the bowl while mixing to assist with cooling down.
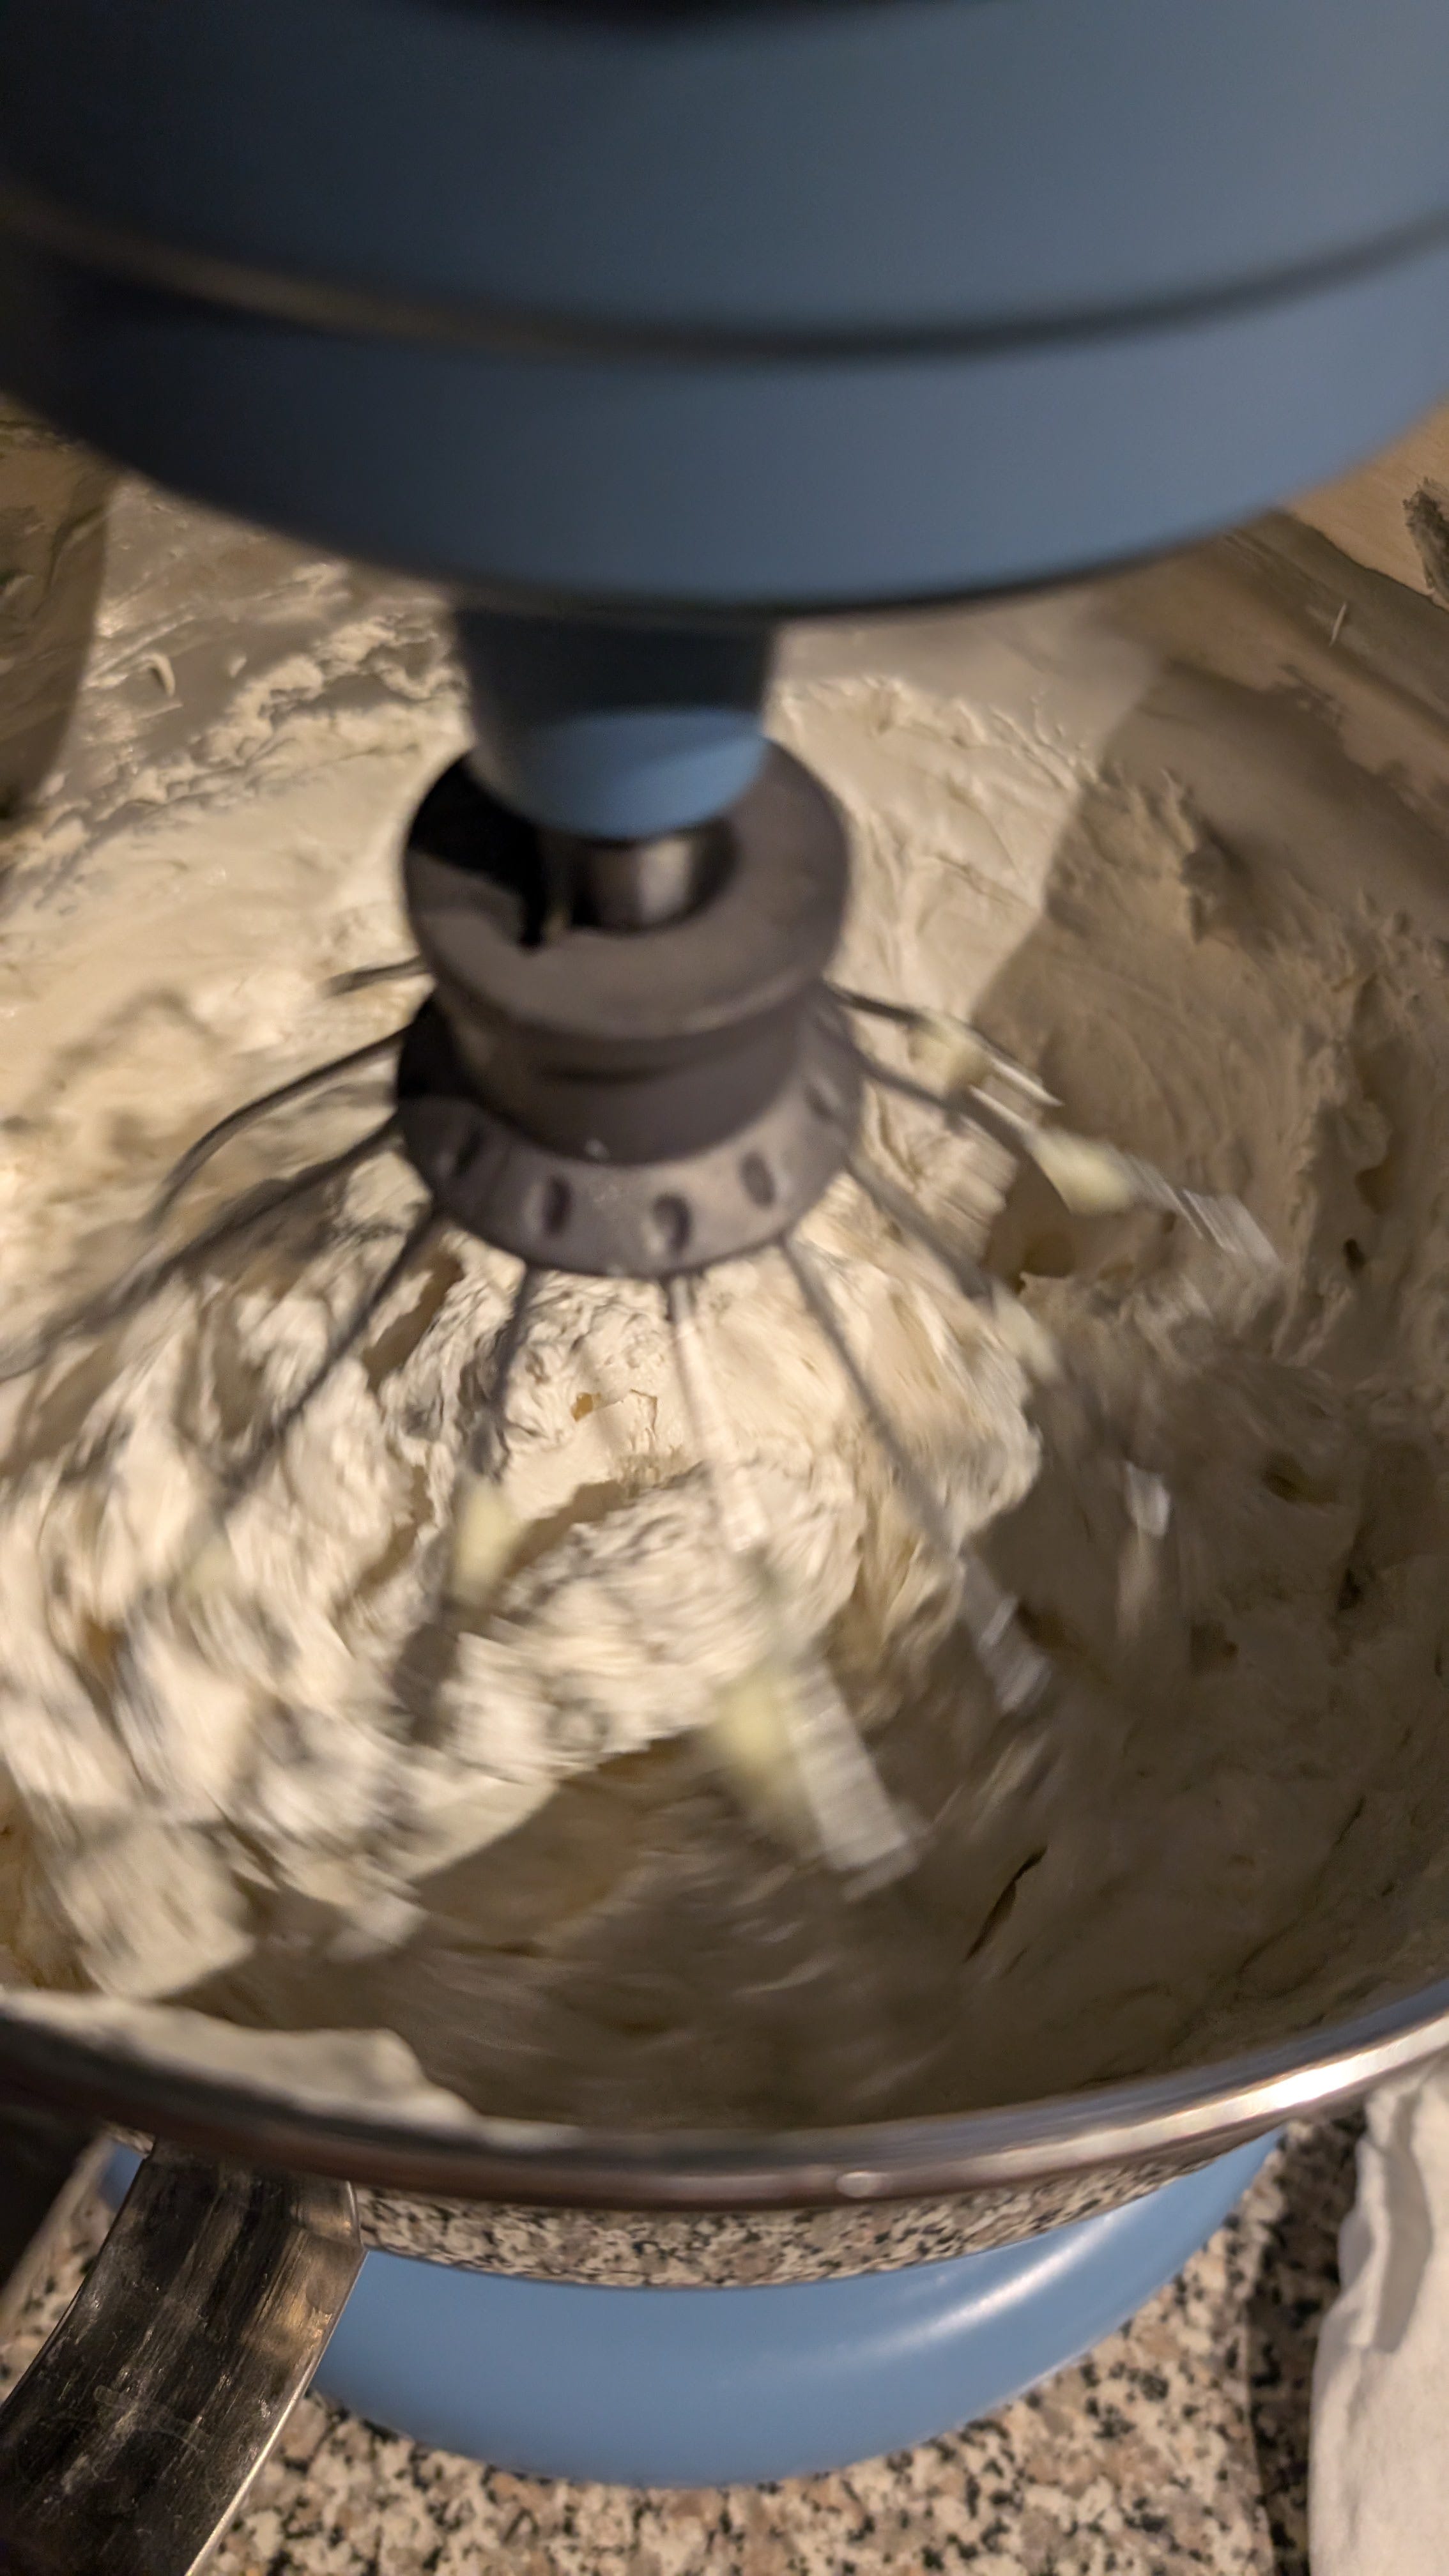
Turn the mixer speed to low and begin adding the butter to the meringue, one stick at a time. Allow the butter to mostly incorporate before adding another stick. If you're using large block European butter, divvy up the butter into 4 portions and add one at a time.
After all the butter has been added, allow the buttercream to whip on medium speed for 5-7 minutes. As it incorporates, it will begin to look curdled, which is a good sign. This means your meringue and butter were the perfect temperature for mixing. If you find your buttercream is not coming together, try increasing the speed to medium high. If it still doesn’t come together/looks soupy, stick it into the fridge for 5 minutes at a time, and whip again.
Once the buttercream has come together, add in 15-30 ml olive oil and 10 grams clear vanilla extract. If you’re feeling fancy, feel free to throw in some vanilla bean extract or paste, too.
Switch the whisk attachment to a paddle, and mix the buttercream on low speed for at least 15 minutes. This will relieve any large air pockets, and create a sultry-smooth texture.
Toward the end of mixing, add in 1 tablespoon of crushed jimmies.
Assemble the Cake
Gently remove the cooled chiffon from the pan. I take an offset spatula and carefully run it around the perimeter of the pan to loosen the cake, careful to make sure the knife is straight so as not to cut into it.
Place the cake onto a rotating cake stand or flat surface lined with parchment. Using a large serrated knife, cut the cake into 3 even layers for an 8” cake, or 2 layers for a 9”. Be sure to rotate the cake as you cut to steady your hand.
Stack and fill your cakes with a generous amount of buttercream between each layer.
Frost your cake as desired, and enjoy.
Finishing Touch
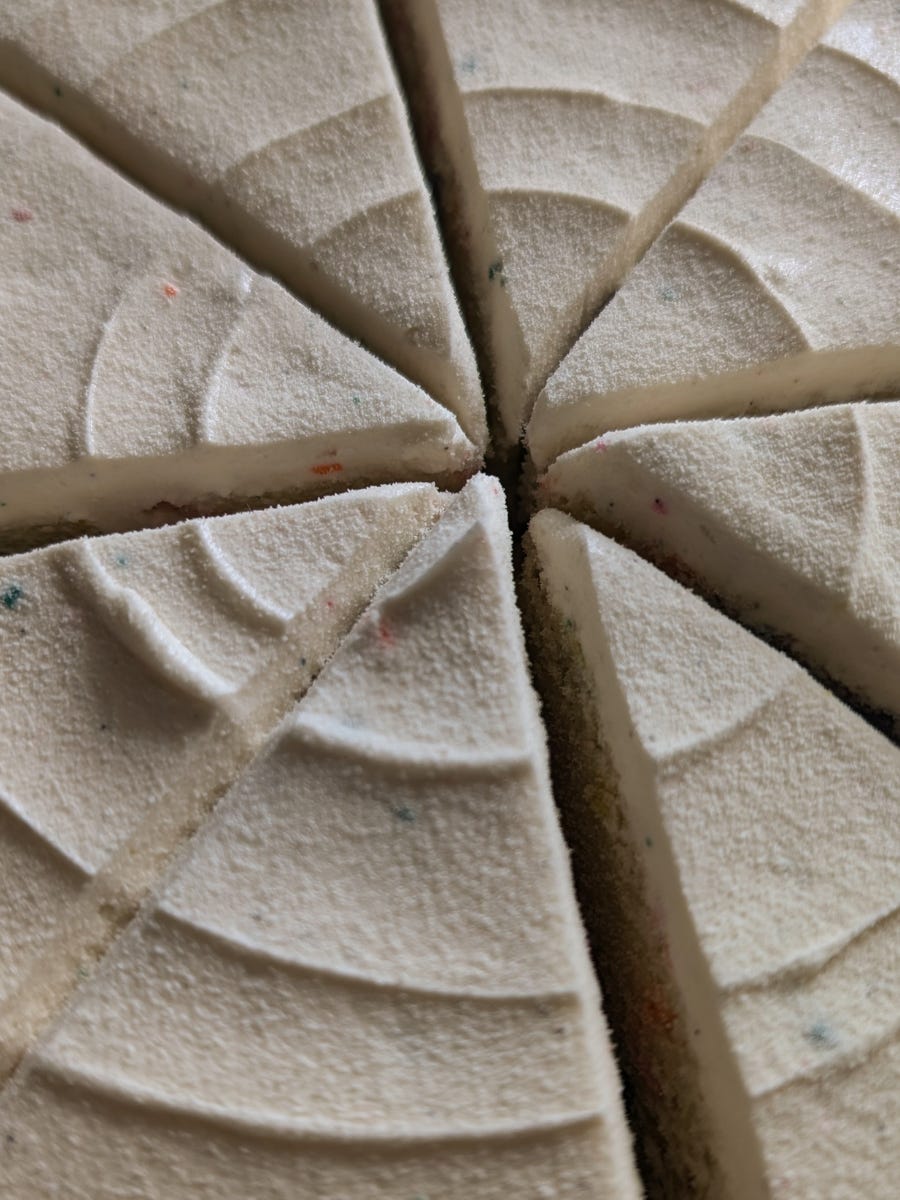
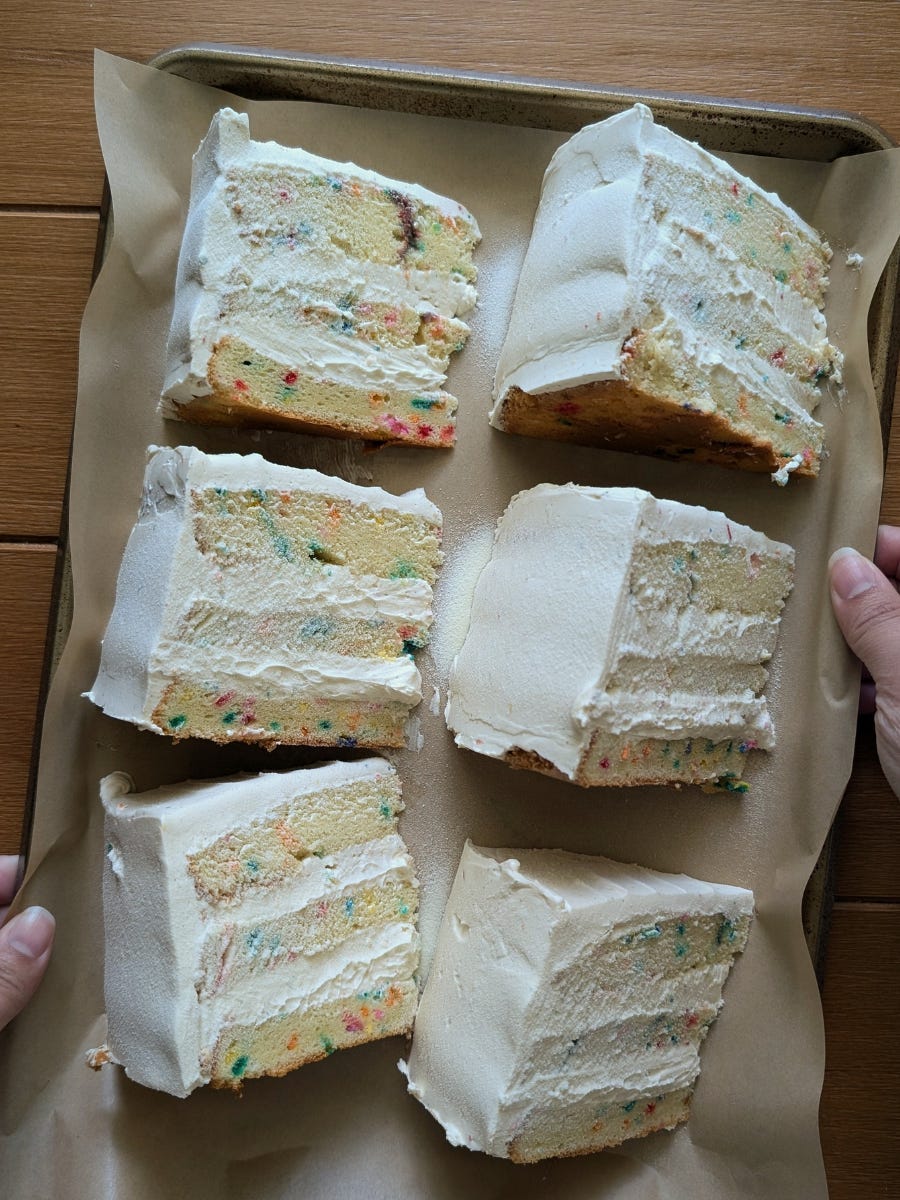
I sprinkled the top and sides of the cake with whole milk powder, for a slight milky flavor and nostalgic texture.
Keeping the Cake
Cakes will keep at room temperature, or in the fridge for up to 1 week. If you are keeping the cake in the fridge, I suggest allowing it to sit for 30 minutes at room temperature before serving to allow the buttercream to soften.
Thank you so much for reading, and thank you for your support. Channey <3
I’m so excited!! I’m going to make this soon!