

doughnut diaries 3/13/2024
doughnut diaries 3/13/2024
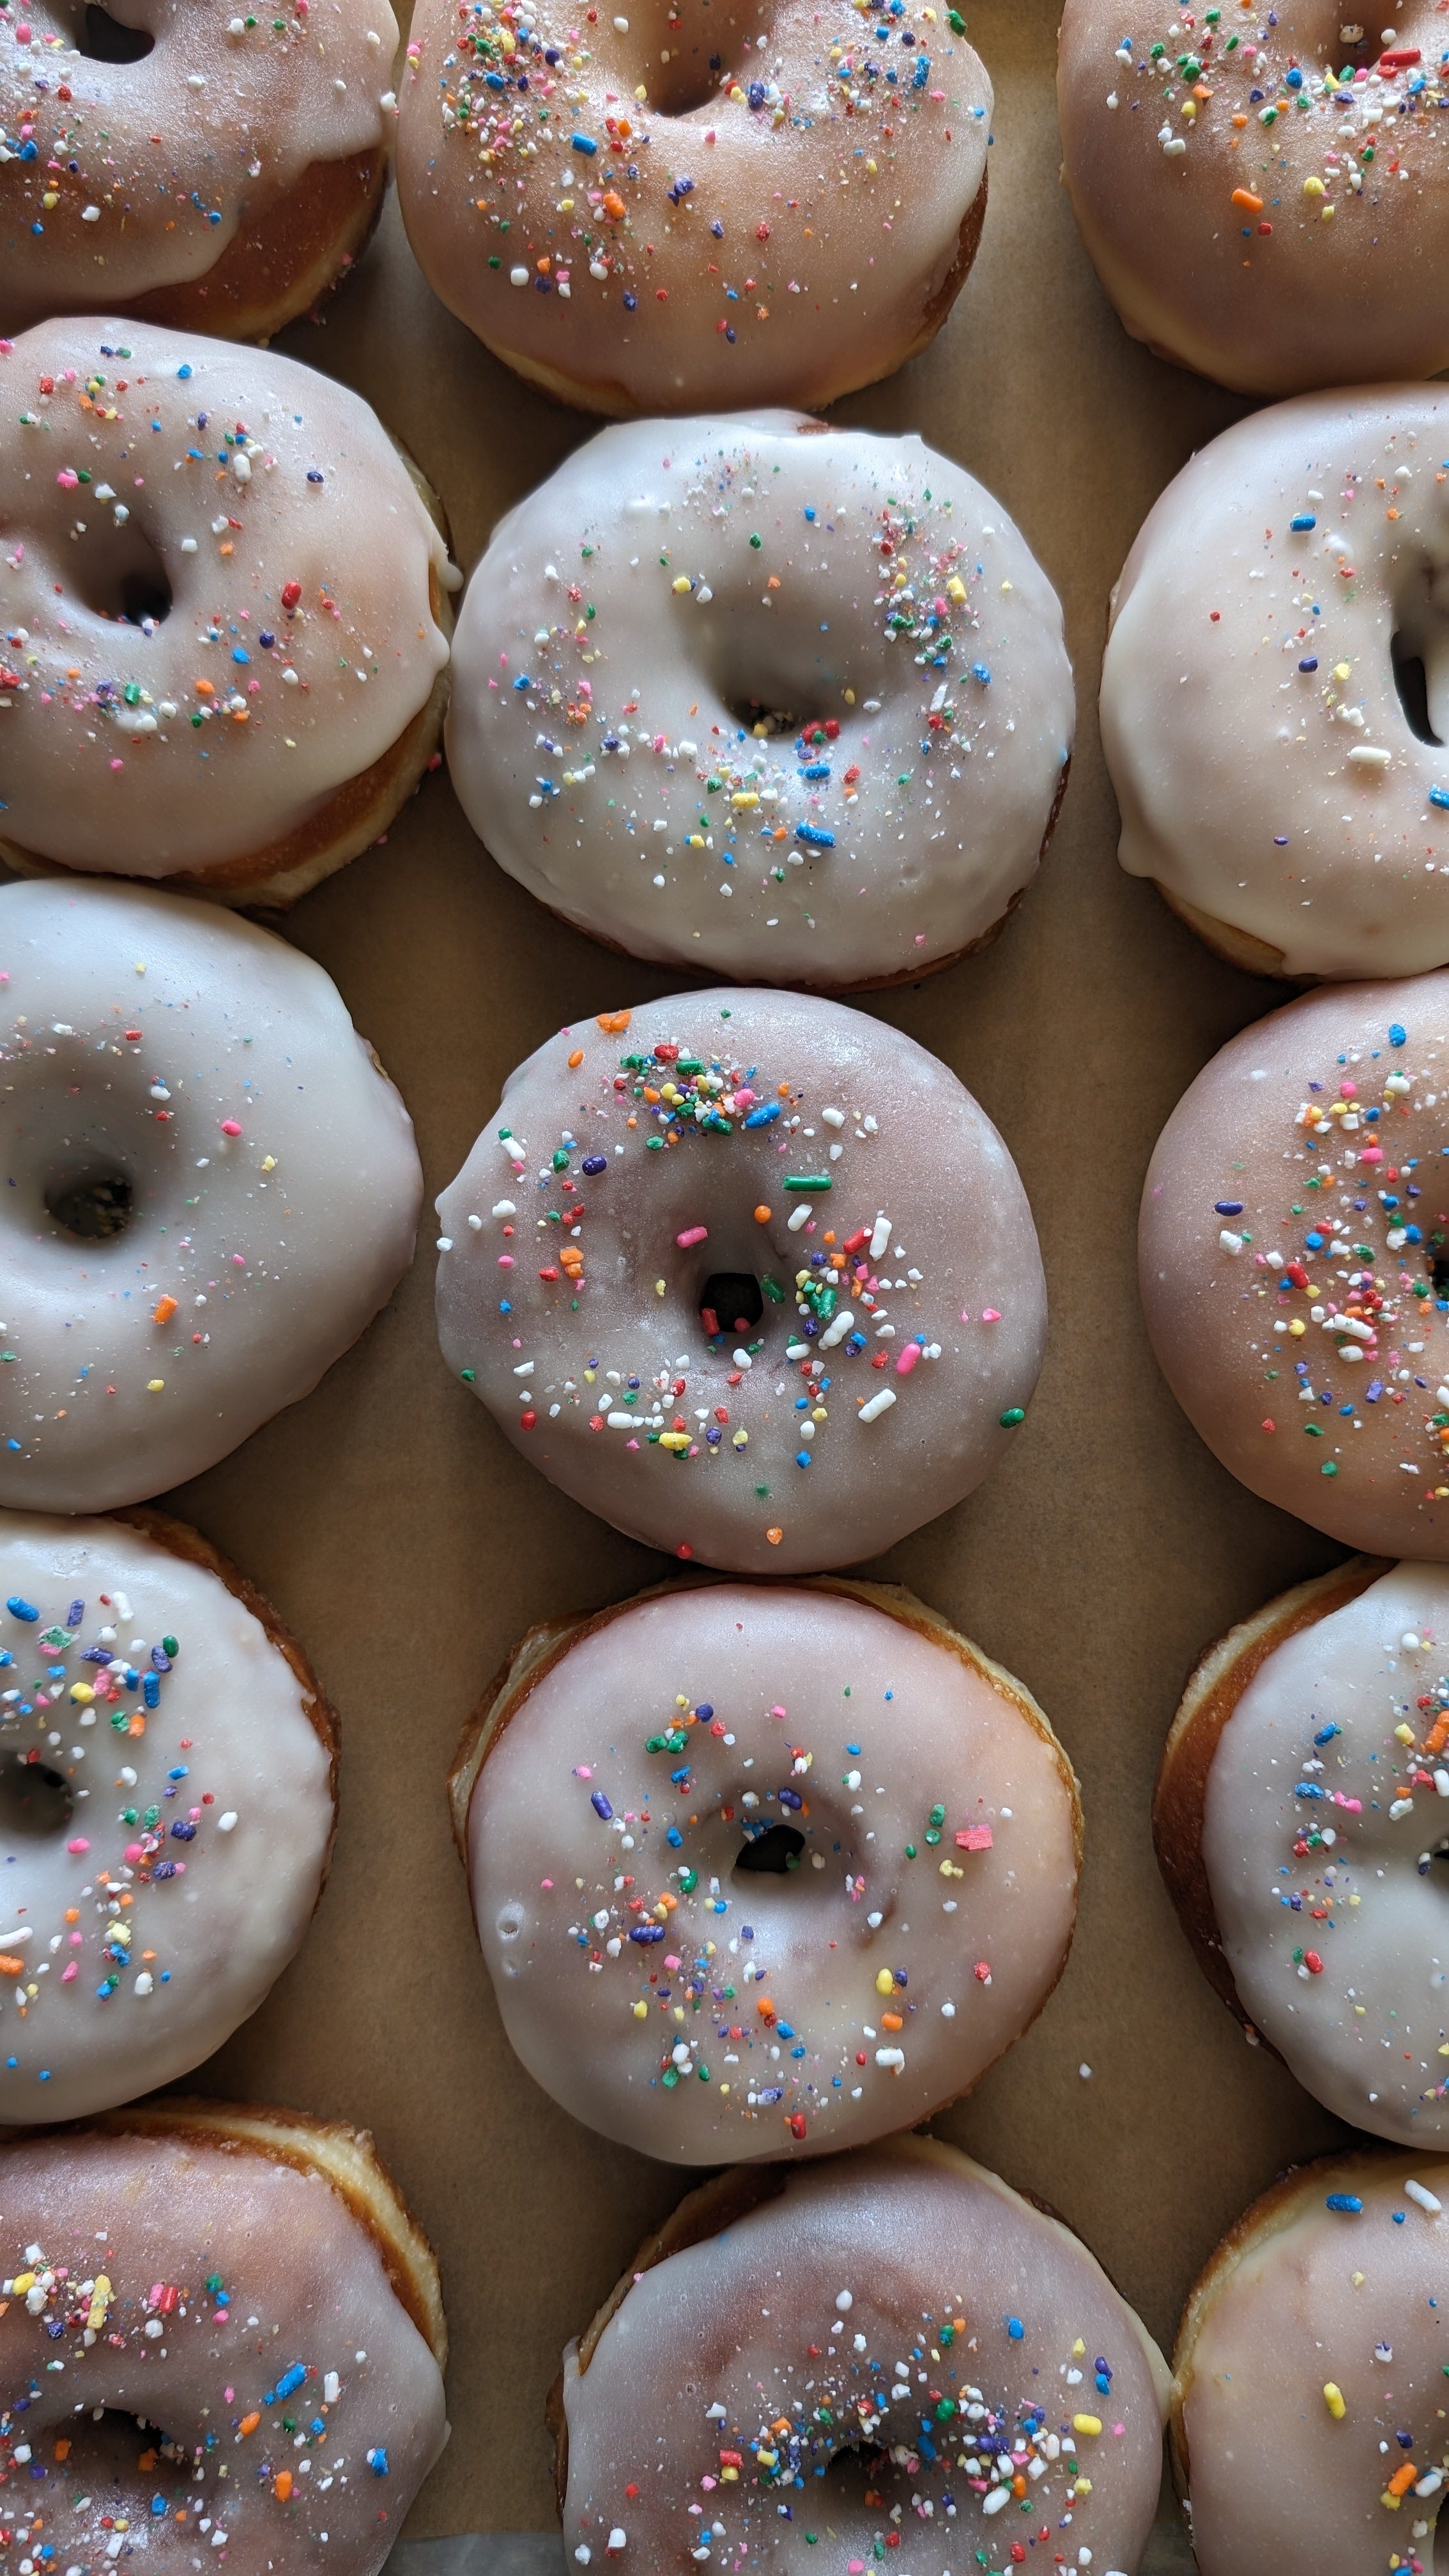
funfetti glazed donas!

I think doughnuts and I are ready for the next level.
My relationship with doughnuts is still a bit of a strange one, because I truly do not seek them out when shopping for pastries. The best doughnuts I’ve ever had were made at home. Even the not-so-good homemade ones are better than what you’d find at shops where the doughnuts are shipped in, like DD.

If you yourself have been struggling to find a better doughnut (or one that is at least worth it), you are on the right track.
funfetti glazed doughnuts
The purpose of this bake (for me) was to nail down a soft, rich, classic doughnut dough. Prior to this, all my recipe tests for doughnuts focused on brioche. So, I scaled back the eggs, butter and dairy, and increased the flour for more structure.
For those of you who like to work with your hands – I think you’ll find preparing this dough pretty uncomplicated. Rather than throwing the butter in with the other ingredients at the beginning, save it for after you have formed a shaggy dough, and then incorporate it in a tablespoon at a time.
Not to toot my own horn, but these doughnuts honestly remind me a bit of Krispy Kreme. The glaze is warmed, and sets up very quickly as it cools. As you bite into it, you’ll notice the glaze crack slightly, just like they do at the shop.
This works because as the confectioners’ sugar is added to the warm liquid, it melts. But as soon as the glaze dries and hardens, it will become matte and dry to the touch, similar to an old-fashioned glazed doughnut.
Doughnut Dough (makes 18):
120 ml whole milk
120 ml water
15 g active dry yeast
100 g eggs about 2 large eggs
50 g cane sugar
550 g all-purpose
30 g milk powder
113 g salted butter, cold
12 g kosher salt
Funfetti Glaze
30 ml whole milk
15 ml olive oil may sub more milk if desired
240 grams confectioners’ sugar
large pinch sea salt
5 grams clear vanilla extract
rainbow sprinkles, set aside
2-3 extra tablespoons milk, set aside
Prepare the Dough
To the bowl of a stand mixer, combine 120 grams water and 120 grams milk (both warmed to the touch; 100-110 F) with 15 grams active dry yeast and a pinch of sugar. Allow to rest until foamy, about 5-7 minutes.
To the same bowl, add 2 large eggs, 50 grams cane sugar, 550 grams all-purpose flour, 30 grams milk powder, 113 cold salted butter and 12 grams kosher salt.
Using a dough hook, mix the ingredients on low speed until a shaggy dough is formed. Increase the speed to level 2, and allow the dough to knead about 20-25 minutes.
The dough is ready once it becomes smooth and pulls away cleanly from the sides of the bowl.
Transfer the dough to a clean and lightly oiled bowl. Allow the dough to rest and rise until doubled, 1.5 - 2 hours.
Expel the air from the risen dough. Cover securely and place the dough into the fridge for a 12 hour rise.
Shape the Dough
Transfer the dough to a clean and lightly floured surface. Use your hands (or a rolling pin) to gently expel any air from the dough.
Divide and shape into roughly 16-18 dough balls. I was able to get 18, weighing 60 grams each.
Allow the dough balls to rest for about 15 minutes, covered.
After resting, it’s time to shape. There are a few ways to go about making the classic doughnut hole shape. I happen to have a doughnut cutter, however you can also use the open end of a large piping tip to create holes.
Take a rolling pin and flatten each dough ball gently until about 3.5-4 inches in diameter. Take a doughnut cutter and press it onto the dough, adding pressure to the center of the cutter where the hole is.
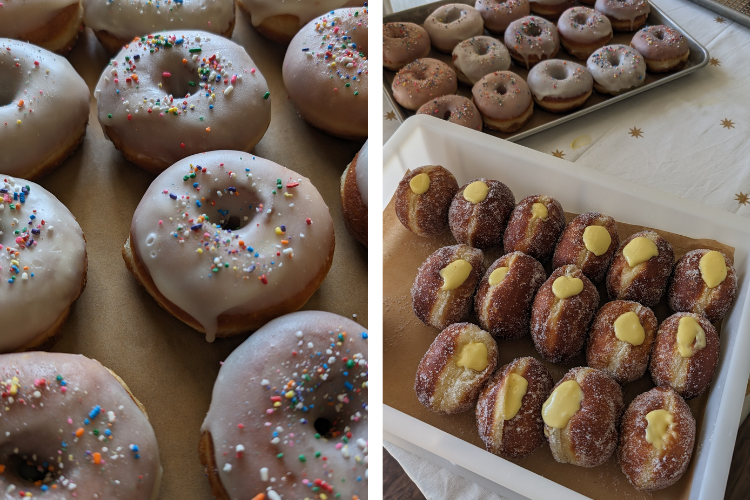
Remove the cutter and the hole from the center. Save the doughnut holes for frying.
I prefer this method of shaping by hand over the traditional method of rolling the dough into a flat rectangle and cutting shapes out of it. When you shape by hand, all of the dough is used, and you don’t have to re-roll the dough to make more doughnuts.
Transfer the doughnuts to a parchment lined sheet pan. You should be able to fit about 12 doughnuts on each sheet of parchment. Once all the doughnuts have been shaped, carefully cut the parchment so that each doughnut rests on its own individual square of paper. This will make transferring the dough to the frying oil much easier to handle.

Allow the doughnuts to rest for 45 minutes to an hour. They will become visibly larger when ready to fry. I allowed mine to rest 45 minutes. For the final 15 minutes, I start the oil.
A true sign that your dough is ready to fry is when you press gently into the dough with the tip of your finger, and an indent remains.

Fry the Dough
Fill a bottom heavy pot with a neutral oil, such as canola or vegetable. The oil should be 3-4 inches deep. The smaller the pan, the deeper the oil will be (hint-hint).
Place a thermometer into the oil and set over medium heat, slightly leaning toward medium high.
While the oil is heating, set a tray of dough beside the pot. Uncover the dough so that it can start to develop a slightly dry, almost “protective” coating, which will benefit the shape of the dough as it fries. You fingers will be less likely to leave little annoying indents when transferring the dough. Or, maybe you don’t care! lol.
Once the temperature of the oil has reach 350 F, fry the doughnuts for 2 minutes per each side. Place the doughnut into the oil gently along with the parchment. Remove the parchment using either tongs or chopsticks from the oil after about 15-20 seconds. Try not to overcrowd the pan. I personally prefer 340 F for frying, however the oil temperature will fluctuate. Just make sure it doesn’t start creeping up to 360 F, or below 335 F.
Allow the doughnuts to cool on a sheet pan lined with parchment and a cooling rack, so the oil can properly drain.

Prepare the Glaze
In a small saucepan, combine 30 ml whole milk and 15 ml olive oil. Set over medium low heat, and allow to warm without boiling.
Once the milk is warm, whisk in 240 grams confectioners’ sugar in about 3-4 increments. Add a large pinch of sea salt.
Mix in 5 grams clear vanilla extract - this will lend the perfect “funfetti cake” flavor. Set aside a bowl of sprinkles right beside your workstation for easy access.
At this point, the glaze should be slightly thick but runny. Thin it out with a little more milk and reduce the heat to low.
Dip each doughnut into the glaze. Glaze one at a time, and immediately proceed with sprinkles because the glaze hardens quickly!
Add more milk as needed to thin out the consistency of the glaze.
The doughnuts are ready to enjoy immediately, and will keep through the next day.

Some doughnut tips and FAQ!
To prevent raw middles, make sure you are adding doughnuts to oil that is at least 340 F-350 F. Cook for 2 minutes on each side. The dough will continue to cook slightly after being removed from the oil, so allow it to rest for about 8-10 minutes before ripping into one.
Temperature matters when trying to prevent an overly oily donut. The lower the temp of the oil, the more oil the dough will absorb, resulting in something dense and greasy. Overproofed doughnuts will also absorb more oil.
When removing doughnuts from the oil, shake them for about 10 seconds to remove any excess oil.
If you are serious about making doughnuts and aren’t reading Bake Chats by Kassie Mendieta, then what the heck??? Go go go. Kassie is a doughnut pro, and has graciously shared her recipes and tips for a variety of doughnut types and flavors, such Brown Butter Brioche Doughnuts and Yuzu Olive Oil Doughnuts for Graza. I wouldn’t be where I am now in my doughnut journey if it wasn’t for her generous expertise.
Thanks y’all for reading! Now that it’s getting warmer in Texas, I can feel another wave of doughnut tests and recipes building up. I’ll most likely buy a countertop fryer just to make things a little easier for myself. I also really want a doughnut filler, but where in my apartment would I even fit something like that? Lol. A girl can dream.


I've never tried homemade doughnuts before, but I'm sure they taste better than the ones in the shop. Most of the doughnuts I've had from Krispy Kreme taste like sugar. Your recipe looks fresh and flaky.