
a guide to baking conchas

The purpose of this guide is to teach a variety of tips and tricks I have learned over the years baking these nostalgic sweet buns. Here's to enjoying the process.
ingredients, tools & flavor profile
A List of Ingredients I Regularly Use for Conchas
Concha dough falls under the enriched dough category, which means it has a high ratio of fat, eggs, sugar and milk. The most common fats used for baking conchas are butter, shortening or lard. You most likely have exactly what you need for baking conchas at home - and I encourage you to use whatever you have on hand or are familiar with.
The following ingredients are what I have had the most success with over the years.
Updated as of 2024:
Bread flour. King Arthur brand's bread flour is my favorite grocery store option, and it truly makes the softest conchas that still have a nice, strong structure and slight chew. It has a protein content of 12.7%, which aids in the elasticity of the dough. I also find it makes the kneading process quicker in comparison to other bread flour options that typically only have 12% protein.
Recently, I have tested conchas made with flour from Barton Springs Mill. Their flours are made using heirloom grains grown in Texas, which is where I live. Baking with ingredients grown so close to home and made with minimal processing is such a privilege to me, and I hope to explore other grains in the future.
Active Dry Yeast. Yeast is a pretty easy ingredient to work with, it just wants a little extra care and attention. To activate the yeast, all you need is a liquid (such as milk or water) that has been warmed to about 100 degrees Fahrenheit, and a little bit of sweetener to feed the yeast (sugar, honey, etc). This combination of ingredients will activate the yeast, causing it to bubble and foam - a process also known as "proofing".
If your yeast is bubbling and gradually growing in size after ten minutes, it's alive and ready for baking. If you find your yeast mixture stays flat, it may be expired, or your liquid was too hot and killed the yeast.

I typically buy yeast in bulk and store it in my fridge. You can also find little individual packets at the store and keep them in your pantry.
Salted Butter. I always, always, always bake using salted butter. I cannot recall the last time I intentionally purchased unsalted butter. Salted butter adds incredible flavor to concha dough (and baked goods in general). It won't make the dough too salty, but it will enhance and balance all the flavors (and round out the sweetness from the sugar).
Instant Dry Milk Powder. An optional ingredient, but a game changer when it's used for conchas and a variety of other doughs. Milk powder will keep the bread tender and fresher longer after it's been baked. It's like adding a little hidden super power ingredient, try to use it if you can!
Cinnamon. The fresher it is, the spicier it will be. Just make sure you aren't using cinnamon you miraculously found at the back of your pantry - go out and buy a fresh container! Mark your container with the date you opened it so you'll have an idea of how fresh it is the next time you use it (I do this for a variety of other baking ingredients, such as baking powder, baking soda, yeast, and cream of tartar).
If you're interested in a specific type of cinnamon for conchas, I prefer Ceylon. It's brighter and spicier with floral notes as opposed to Saigon, which is sweeter and typically used for cinnamon rolls.
Adding Flavor to Conchas
The dough portion of the concha serves as a more subtle base for flavor, while the concha topping provides the more noticeable, prominent flavor.
Concha topping, also known as “pasta”, is composed of three ingredients: flour, fat and sugar. It's basically a recipe for an unleavened sugar cookie dough, and the fat works as a base for transferring and holding lots of flavor.
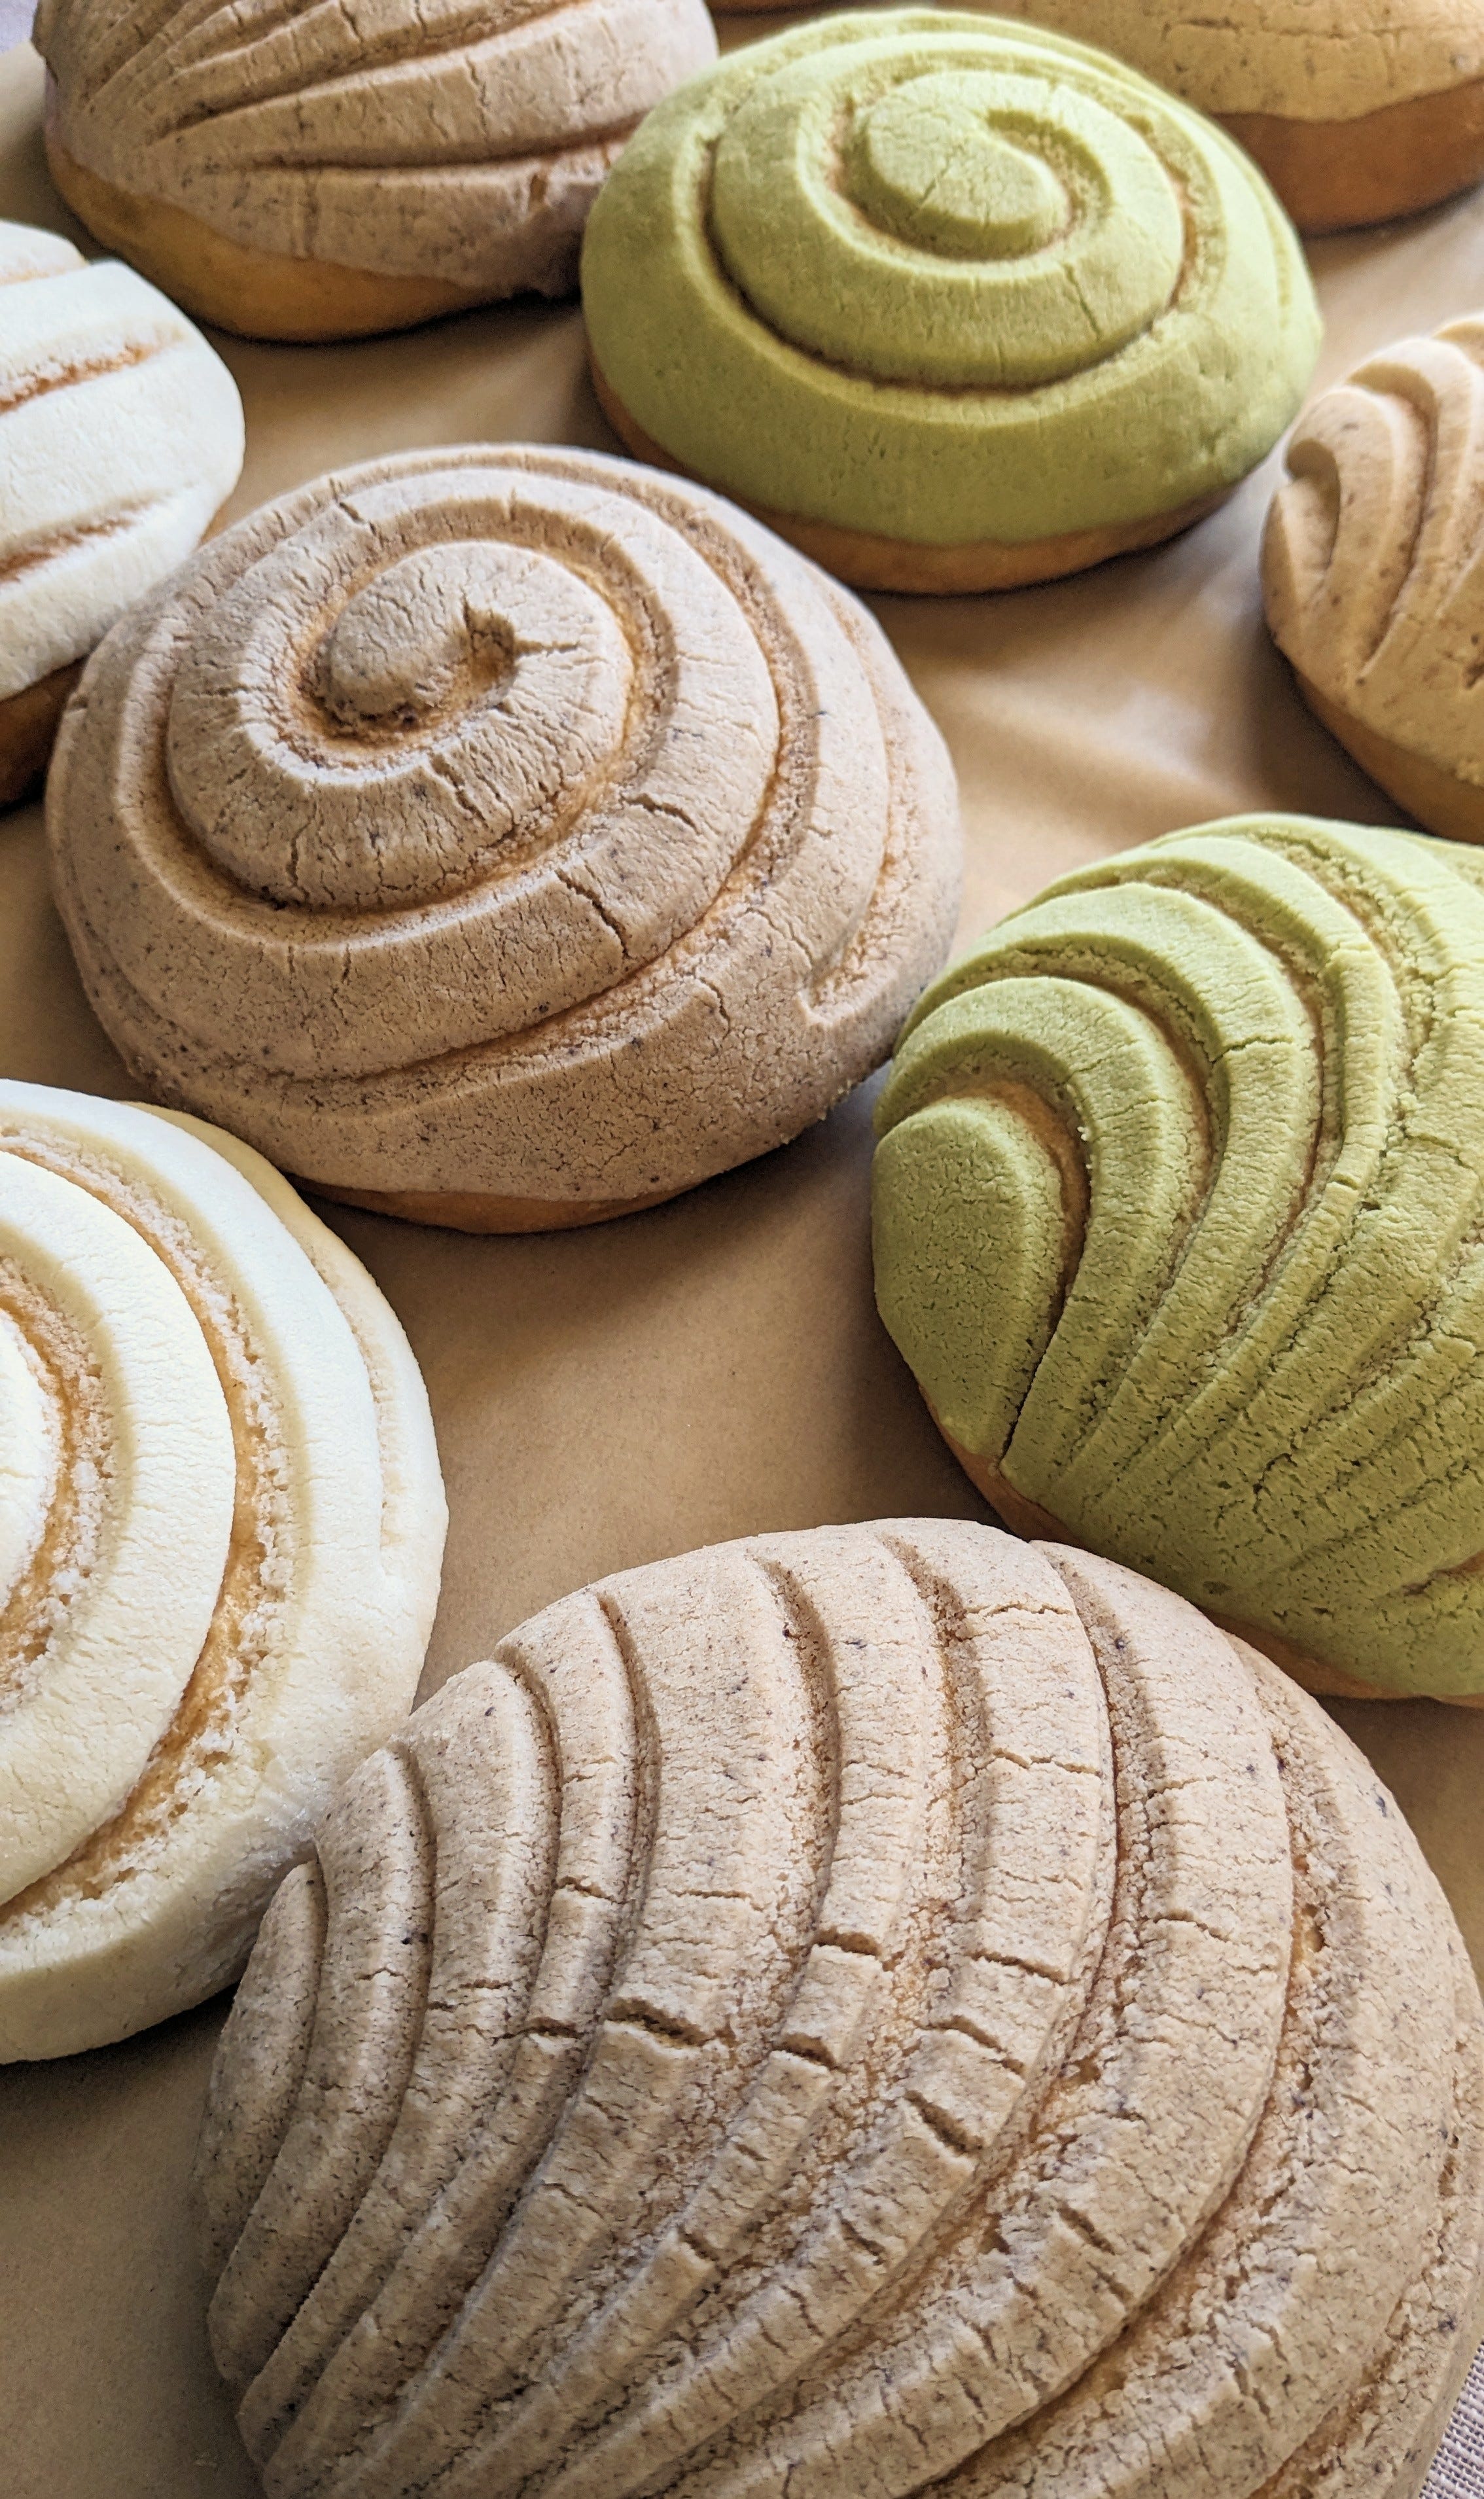
The topping can be flavored with vanilla, cinnamon, cocoa powder, grated chocolate or even citrus zest, such as orange or lime.

You can experiment with a variety of other flavors using freeze-dried fruit powders, warm spices, flavor extracts, instant coffee powder and matcha powder as a few examples.
I recommend adding a half teaspoon of extract or powder at a time, testing the consistency and strength of the flavor before adding more (and take notes so you remember how much to add next time).
Concha Tools
It's possible to create the beautiful shell design conchas are known for by hand, however I have a list of tools below that I enjoy using every time I bake. There are so many different types of concha stamps that can be purchased online now from sites like Etsy or Amazon, with designs for a variety of occasions.

Here's a list of other tools I find helpful and efficient for the dough making process.
baking tips & techniques
Measuring vs. Weighing Ingredients: Why Does it Matter?
It wasn’t until I began weighing my ingredients with a food scale that I finally started having success with baking consistently soft and tender conchas. Weighing your ingredients is more accurate than using volume measurements, such as cups, and it also saves you time and dirty dishes.
When measuring with cups, you risk packing in too much flour, resulting in a denser and drier bread. This can also result in the concha topping becoming too crumbly or dry, because too much flour or powdered sugar was unintentionally added.
If you would like to improve your concha baking experience and have more consistent results, I highly suggest investing in a food scale (you can find one on Amazon for as low as $10 - Kitchen and Food Scale).
Food scales are also useful for evenly dividing and proportioning the dough and topping. An example would be 15 dough balls that weigh about 75 grams each, and the topping pieces at 25 grams per concha.
Kneading the Dough
There are two common mixing methods when it comes to making concha dough.
The first method consists of throwing in all the ingredients together, usually cold. This method takes the longest to knead because all the fat has been added at once, which will require lots of work for gluten to develop and strengthen the dough. The fat coats the flour and inhibits gluten strands from forming. I love the results this method yields, however I understand it’s not the most ideal for home bakers.
The second method involves adding the butter later in the mixing process. You combine the flour, yeast, milk, sugar, spices and eggs and mix until a soft dough forms, about ten minutes or so. Then, you add the butter in gradually. This method is easier for mixing by hand, because you are working with a less wet dough at first. As you knead it and build its strength you will have more control once you begin to add more fat from the butter.
Chilling Dough for an Overnight Rise
More of a quick tip. I always, always chill my conchas overnight. Allowing the dough to ferment for 12 or even 24 hours is such a game changer when it comes to flavor. And no, it won’t taste “yeasty”.
Prepare the dough according to the recipe, and place it into a lightly oiled bowl.
Cover the bowl securely and place it in the fridge overnight to rise.
The day you are baking, remove the dough from the fridge and divide it out for however many conchas you are making. Because the dough is cold and firm, it will be much easier to handle and roll into balls.
Place the rolled dough onto your baking tray and allow them to come to room temperature and rise, about 1.5 to 2 hours. Complete the recipe according to its instructions.
Preparing the Concha Topping (Pasta)
I often receive many questions about how to make concha topping – every recipe I have read has a different set of ingredients, as well as measurements, so it can be overwhelming trying to figure out where to start.

Concha topping works best when the ingredients are weighed, rather than measured with cups. My recipe calls for equal parts all purpose flour, shortening and powdered sugar (ex. 135 grams flour, 135 grams powdered sugar, 135 grams shortening).
My best advice when it comes to making the topping is knowing what texture and consistency to look for. Concha topping bakes best when it feels like a soft sugar cookie dough. It shouldn’t crack, and it should be very pliable in your hand (this is how custom concha bakers are able to mold their decorations). If you can roll the dough in your hand and make a perfect ball, or shape it into a heart without it cracking and crumbling, it’s ready for baking.

Butter can be used for concha topping as well, however it must be softened at room temperature. Butter is perfect for a more rustic bake – it’s crunchier and tends to take on a little color as it bakes.
Getting to Know Your Oven
I currently bake out of a tiny apartment kitchen oven – it’s old and probably close to the end of its life, but I still manage to have lots of successful bakes while using it. The more you bake, the more you will get to know your oven’s quirks. My old oven has plenty of hot spots, and runs 25 degrees hotter than what I set it to. I keep an oven thermometer hanging on the lower rack so that I always have an accurate read of the actual temperature inside the oven at all times.
Some oven tips:
If your conchas dome too high or crack in the middle, this can be due to an oven than runs hot, or heats unevenly due to hot spots. An oven thermometer is key to baking with a wonky even.
If your conchas brown too quickly, bake them on two stacked baking sheet pans rather than one single sheet pan. This method is called "double panning". It allows the bottom of the sheet pans to heat up at a slower rate, resulting in perfectly baked conchas.
Enjoying the Process
Making conchas is a process that requires some patience and a bit of technique – as you can probably tell after reading this guide. I encourage you to go in with the expectation that focusing on the actual process, rather than the end result, will lead to a more pleasant and successful baking experience.
Conchas are conchas, regardless of their shape or size. If your first batch doesn’t look the way you had hoped, please do not allow that to discourage you from trying again.
I have been baking conchas for many years, and many of my first attempts were…interesting, to say the least. 5 years in, I finally started tackling writing my own recipe, and finally in 2021 I developed a recipe that I was happy with in terms of texture, flavor and of course, what I remember eating as a child.
It was a very proud moment for me, and it was an honor to bake conchas using a recipe I had put so much time and research into developing for customers to enjoy.
I hope you find connection through the baking process – whether it’s connection to family, memories, your heritage, or your belly because you’re hungry, enjoy it.
Some Concha Recipes to Try:


Hi there! Any suggestions for topping that consistently comes out chewy/gummy? No matter what recipe is used the results are the same. Thank you!
I made your vanilla bean and buttermilk conchas for family this weekend during our “Christmas coffee shop” and they loved them! The flavor was fantastic.
They did crack a bit at the top along with the pasta, so I’m going to try an oven thermometer next time!
Love your recipes, thank you ❤️